Getting Started
This short tutorial will guide you through:
- connecting your data to Cronologies;
- visualizing it in a few different ways; and
- adding your own metadata and connections.
1. Create an Account
Section titled “1. Create an Account”Open the Create flow in a modern browser.
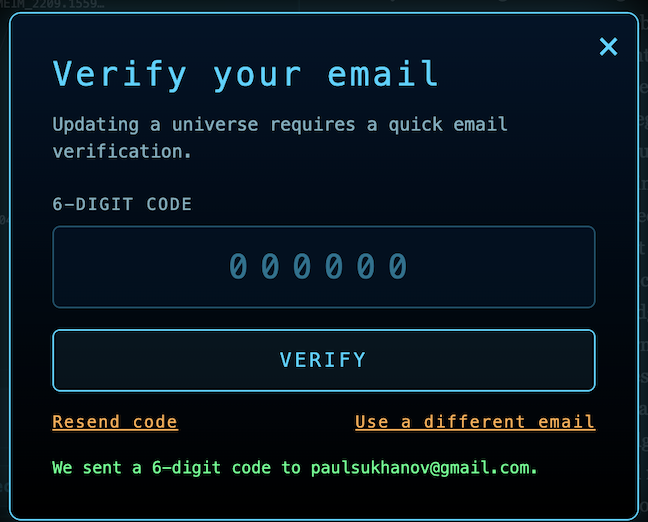
You will need to provide your email address to create or update a universe. Cronologies uses a one-time passcode, so there is no password to remember.
Most imports are processed locally in your browser. When server processing is enabled, large CSV imports may instead use account-based cloud processing. The create flow shows upload and processing progress whenever that path is used.
Enter the one-time passcode sent to your email address.
2. Select your data
Section titled “2. Select your data”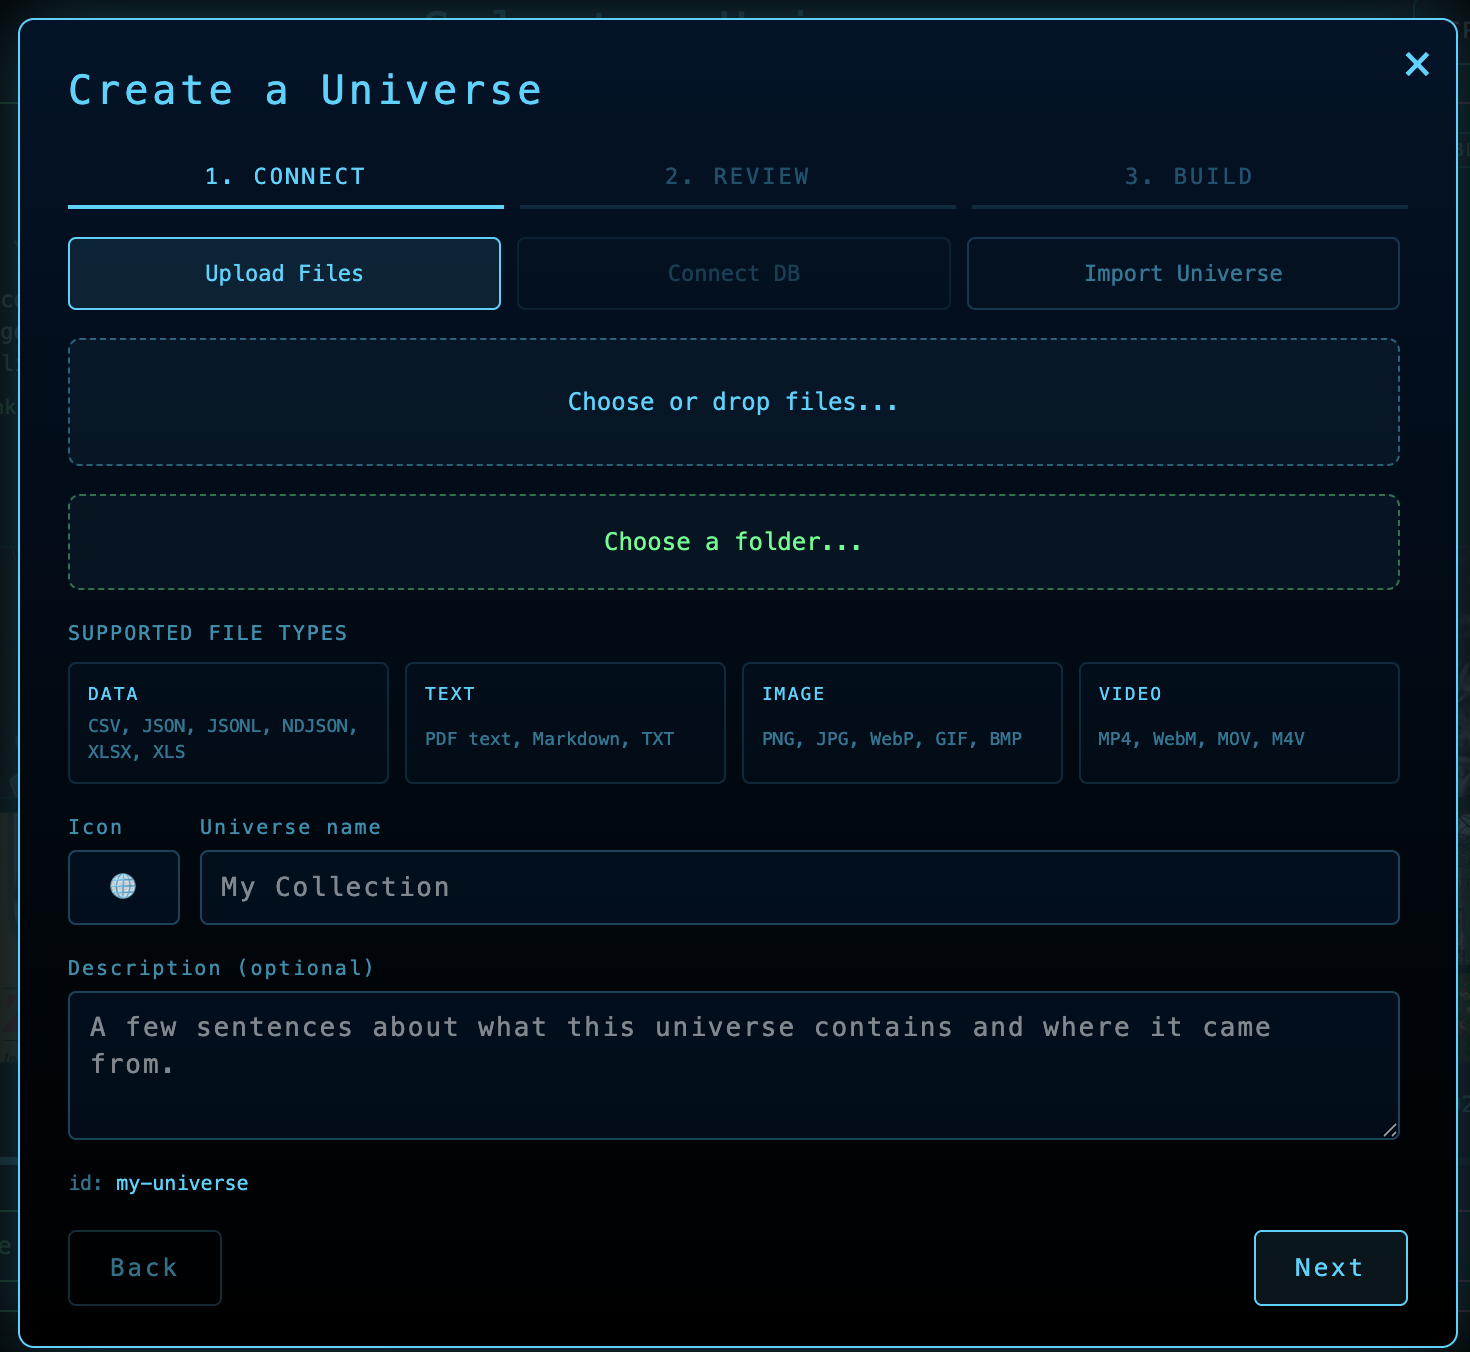
Choose individual files or an entire folder. Folders are scanned recursively, and the supported file types are shown in the create dialog.
Relational or graph data can be imported as CSV or XLSX tables. Define relationships
with keyed columns such as company:employee_id->employee:id, or provide separate
edge tables that map one key to another. Media referenced by a table should be included
with the selected files so Cronologies can link it to the correct row.
3. Review the extracted data
Section titled “3. Review the extracted data”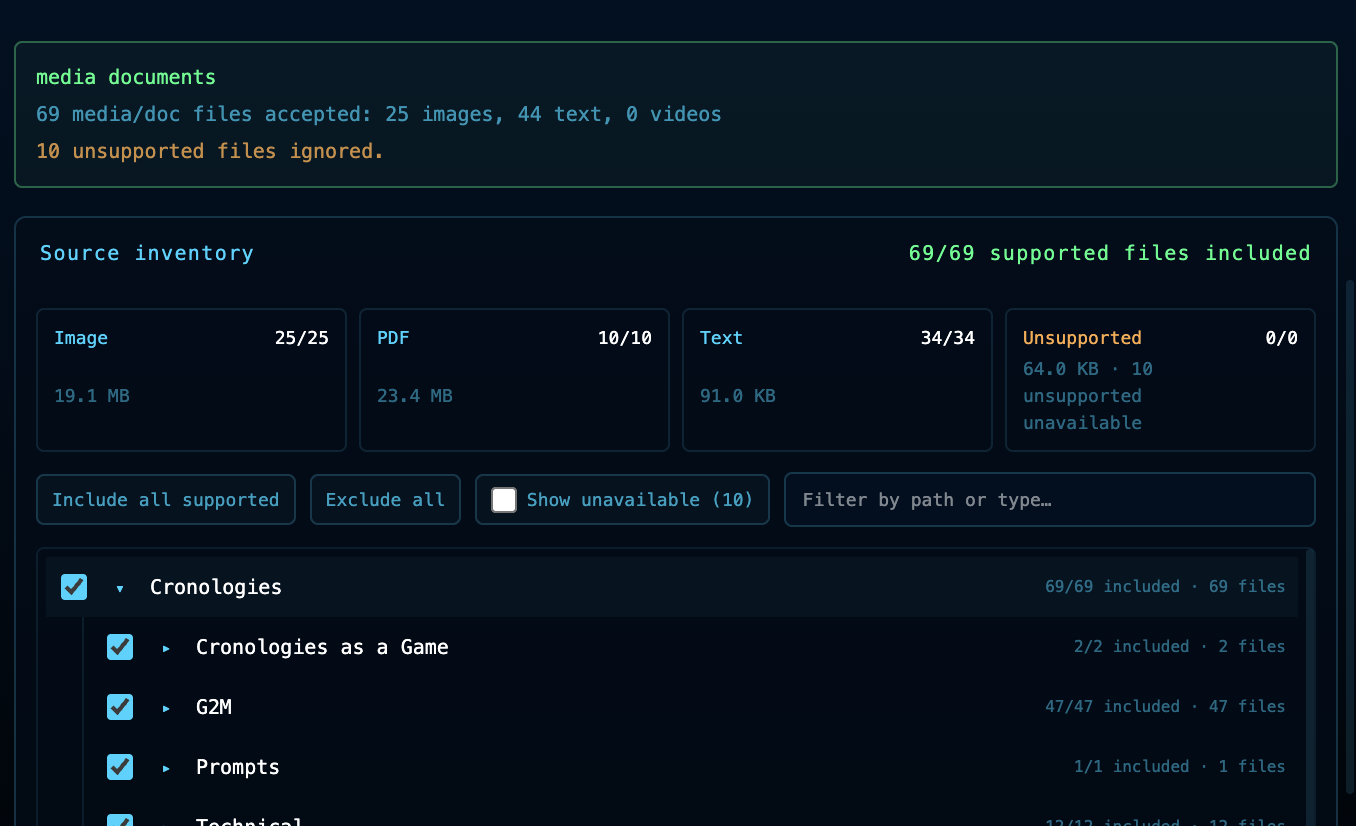
After selecting files or a folder, review what Cronologies accepted for processing. You can exclude files you do not want in the universe.
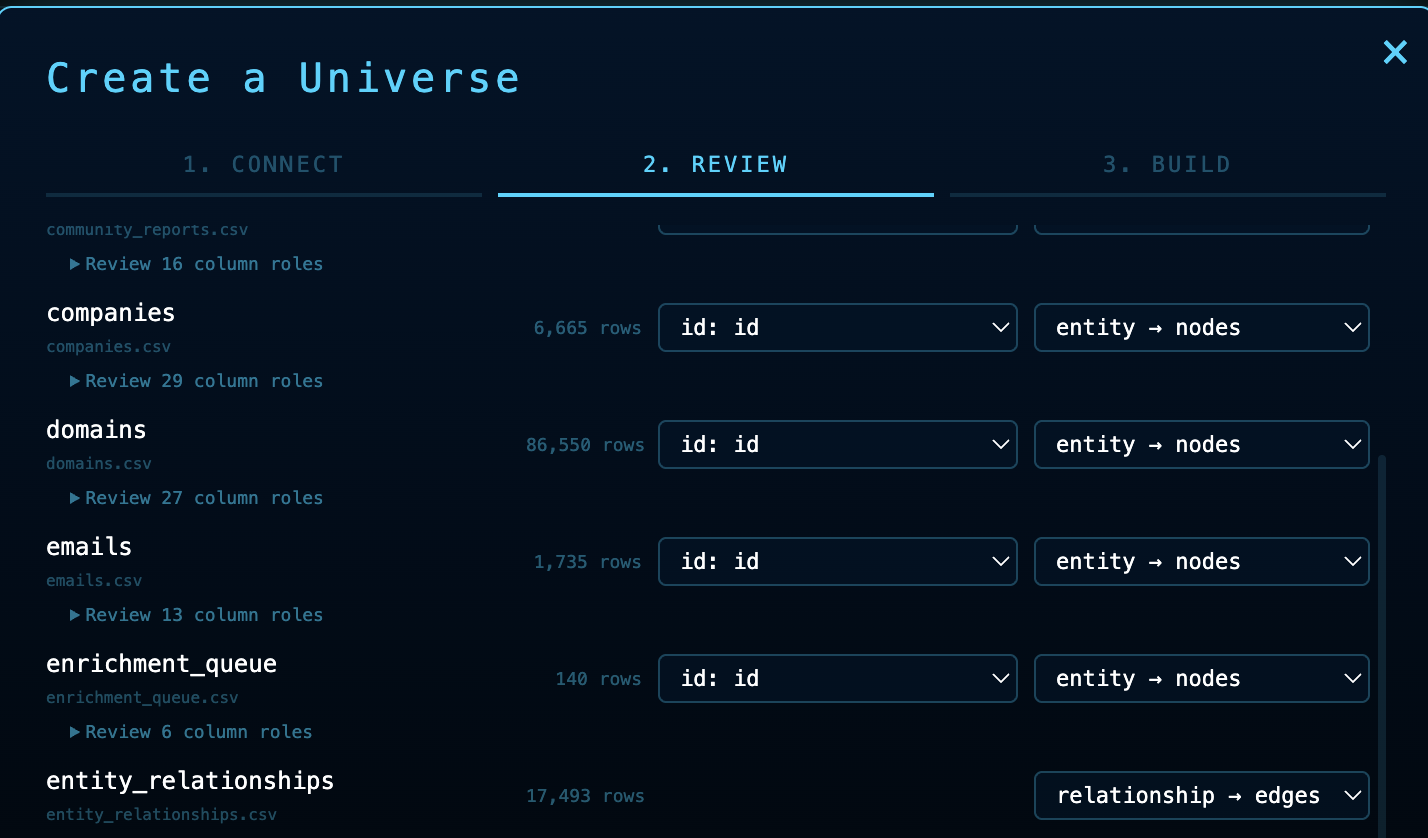
Review any extracted tables and correct column roles such as ID, name, description, media, or links.
4. Build the universe
Section titled “4. Build the universe”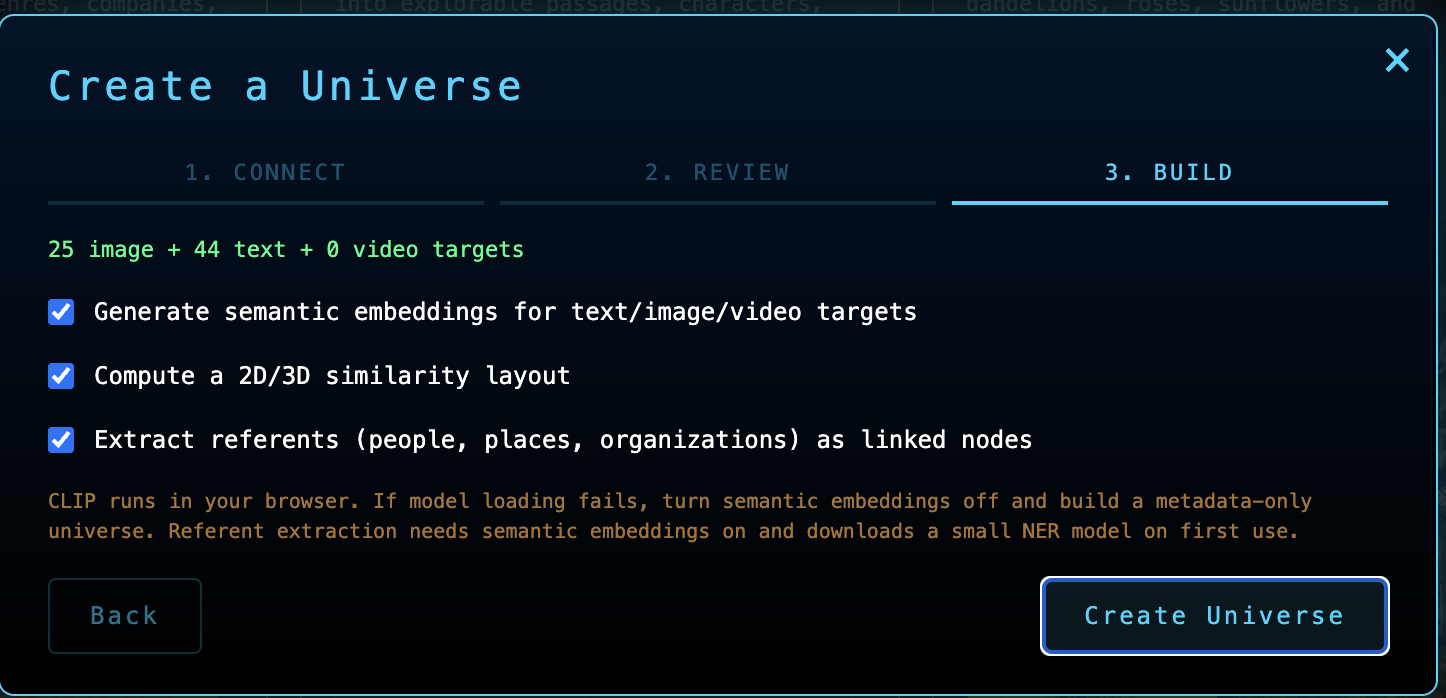
In the final step, choose how Cronologies should process the data, or keep the defaults. Additional processing produces a richer universe but can take longer:
- Segment: Split long text into passages and video into scenes.
- Extract: Identify recurring people, places, organizations, objects, and concepts.
- Embed: Represent each passage, image, or video scene for semantic search and mapping.
- Map: Arrange nodes by similarity ahead of time.
After clicking Create Universe, processing time depends on the amount of data, the selected options, and whether the work runs locally or through server processing.
5. Explore the universe
Section titled “5. Explore the universe”Look around. Drag the main view to rotate or pan, and scroll or pinch to zoom.
Filter by a dimension. Select a value such as Genre to narrow the visible nodes.
Search. Use text search for a known item or semantic search for conceptually related items.
Inspect a node. Select a dot or card to open its description, media, metadata, and connections.
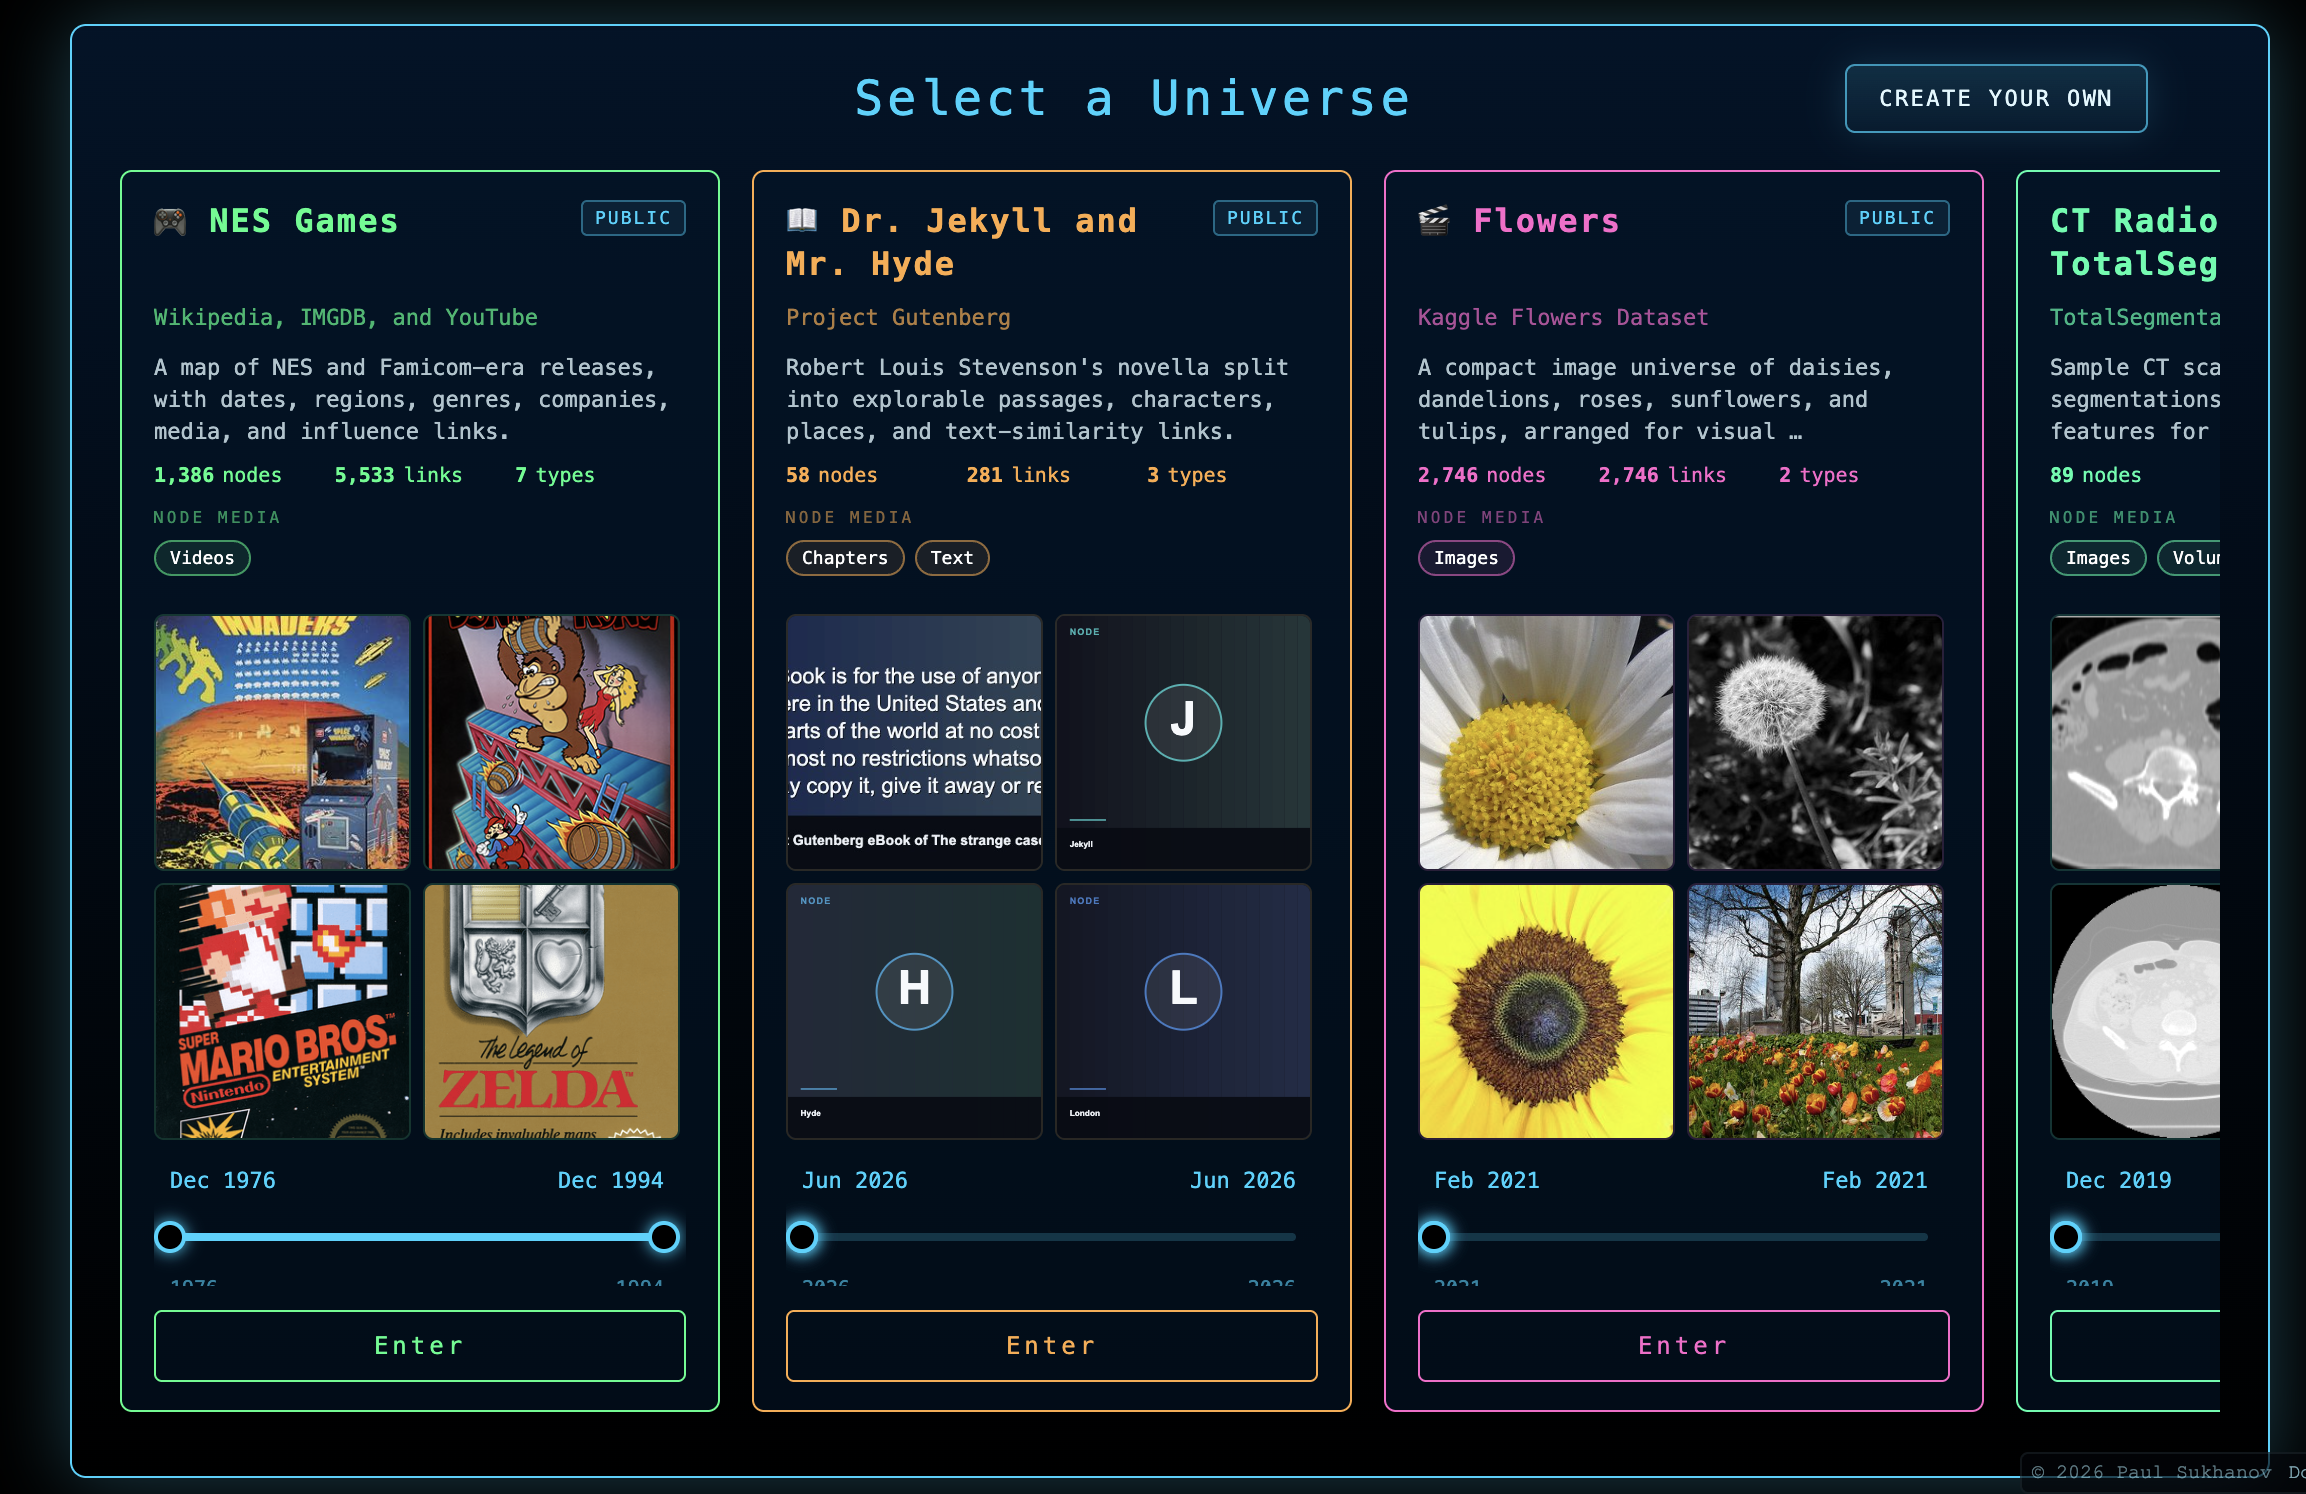
Switch views. Try the globe, similarity cloud, timeline, or graph views to see the same universe from another angle.
Press ? or open Info whenever you need the controls available in the current view.
Where to go next
Section titled “Where to go next”- Learn the screen layout in The Explore Interface.
- Compare the available Visualization Modes.
- Learn how to Search & Filter.
- Build or refine a universe with Create Your Own.